Detailed instruction of how to use SonarQube 9.4
Analyze CodeCharta (Visualization Part) using SonarQube from zip file on Windows
- Clone CodeCharta from GitHub
- Download SonarQube 9.4

- Extract the downloaded zip file, jump into the folder and navigate to bin/windows-x86-64/ or any other OS
- double-click on
StartSonar.batfile - Wait until the terminal says
SonarQube is operational
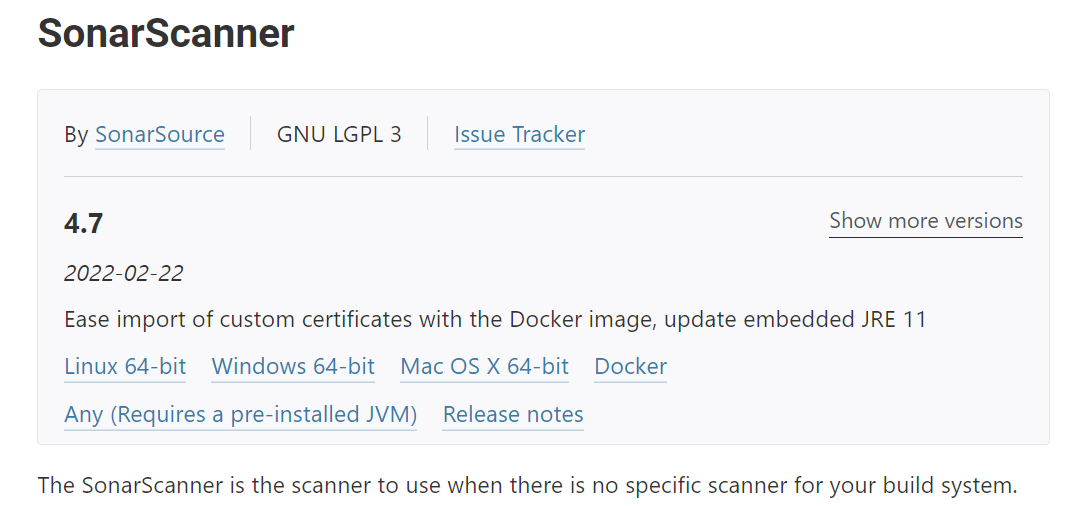
- Download the version 4.7 of SonarScanner
- Extract the downloaded zip file
- Add the
bindirectory of the sonar-scanner folder to the%PATH%environment variable - To test if sonar-scanner works globally execute
sonar-scanner.bat -hin your terminal
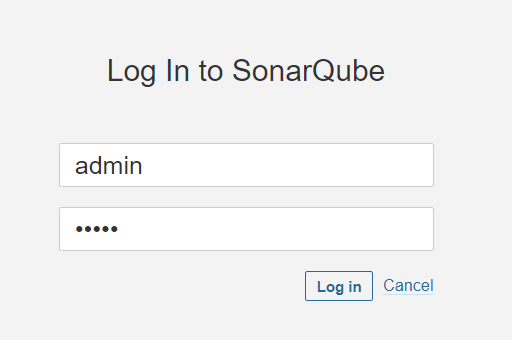
- Open http://localhost:9000
- Login with admin/admin
- Change your password
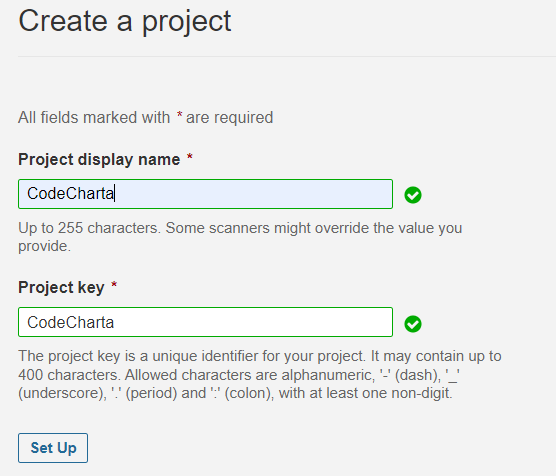
- Create a project ‘Manually’ and set up a project name and key
- Choose ‘Locally’ to analyze the project
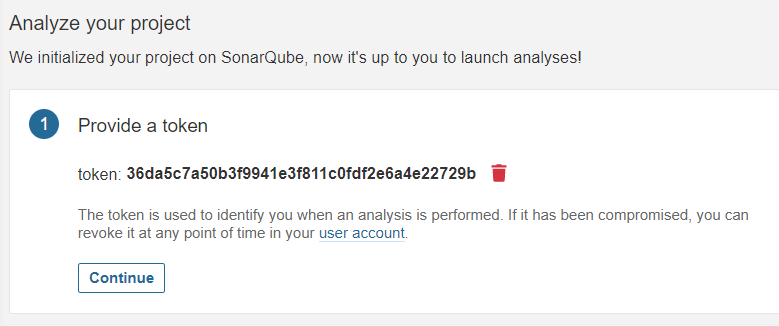
- Generate a token and save it for later use
- Choose ‘Other’ and then ‘Windows’ to run analysis
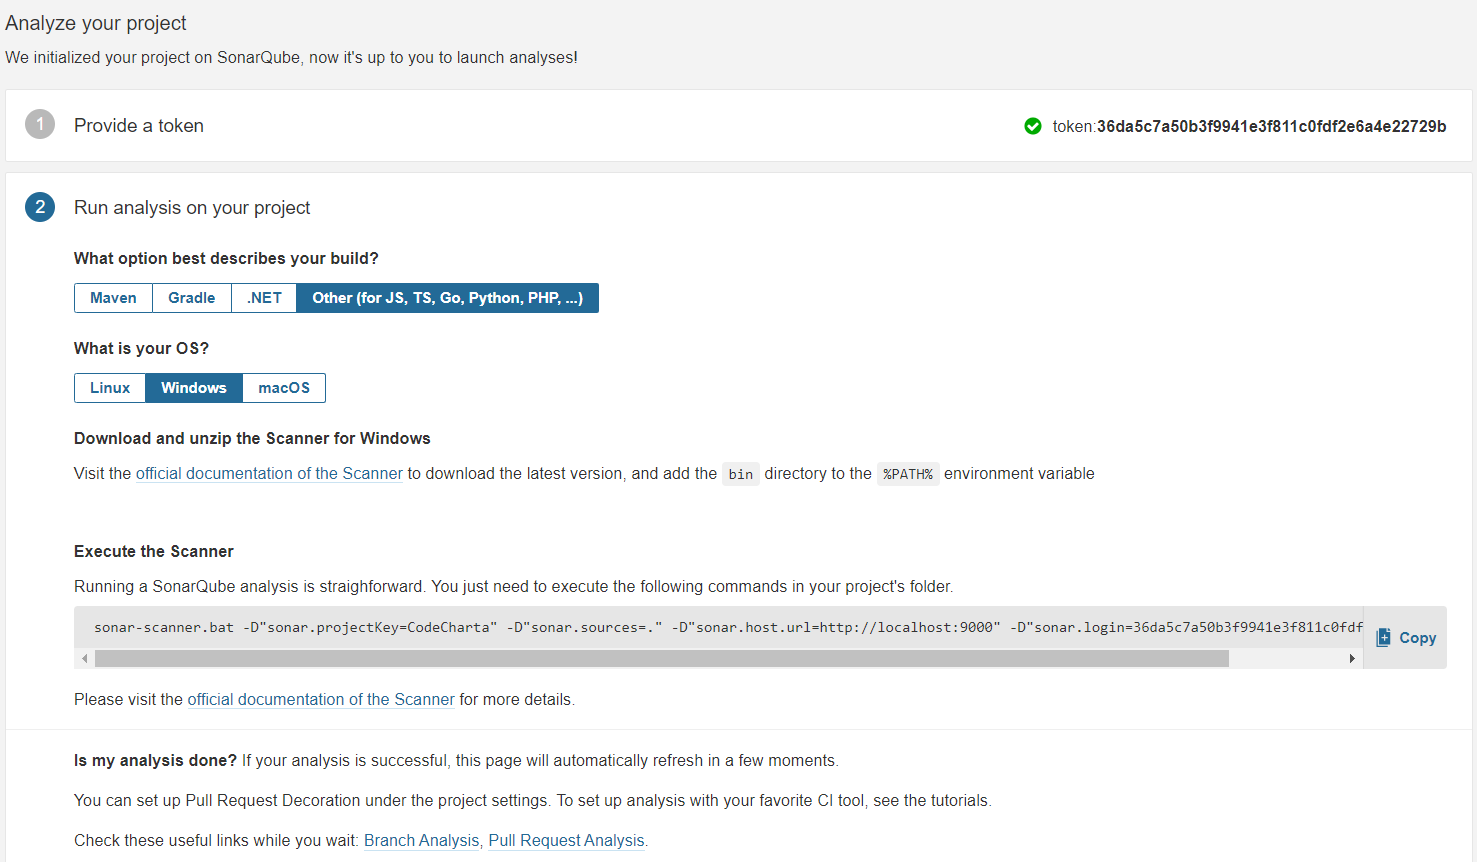
- Open the terminal, navigate to
CodeCharta/visualization/project folder to analyze and execute scanner using the shown commandsonar-scanner.bat -D”sonar.projectKey=CodeCharta” -D”sonar.sources=.” -D”sonar.host.url=http://localhost:9000” -D”sonar.login=”user token”
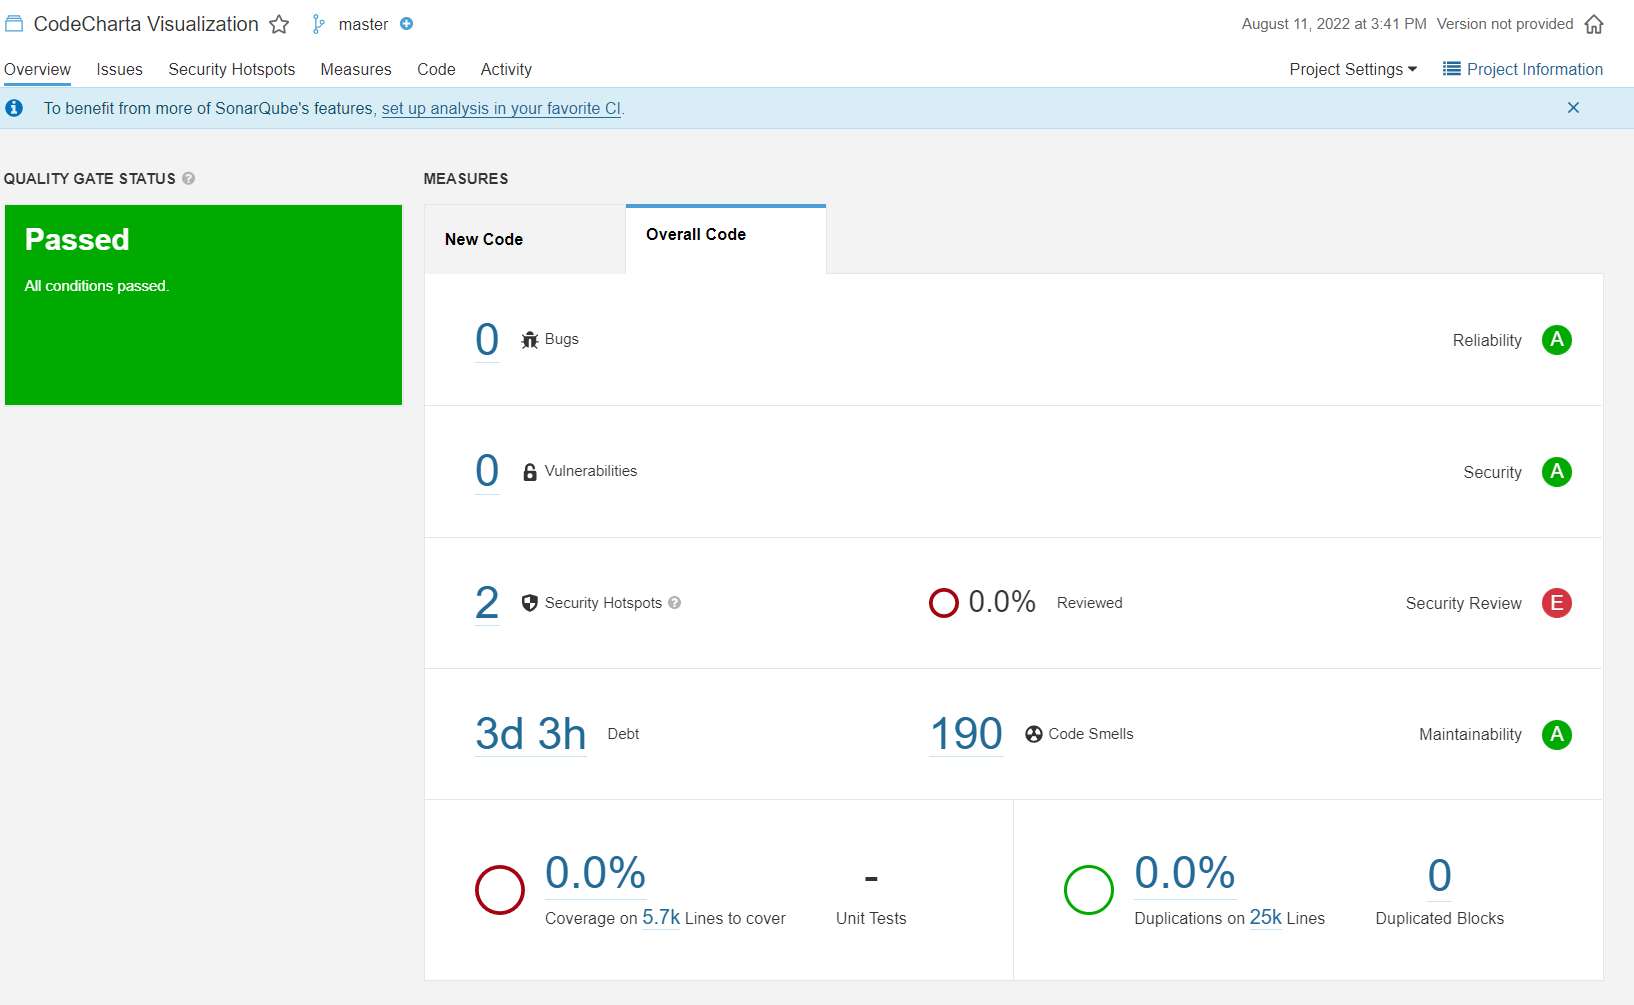
- After a successful execution the analyzed project is shown on localhost
- Install CodeCharta analysis
npm i -g codecharta-analysis
- Execute
ccsh sonarimportin your terminal to generate acc.jsonfile to load it into CodeCharta’s Visualizationccsh sonarimport “http://localhost:9000/” “CodeCharta” “–user=user token” “–output-file=output” “–merge-modules=false”